Every elastic bracelet eventually needs restringing. The cord stretches, frays near the knot, or starts to show white stress lines, and one day the bracelet feels loose and fragile on your wrist. The good news is that restringing at home takes about twenty minutes, a few inexpensive tools, and no special skill beyond patience.
This guide lists exactly what you need, walks through each step from removing the old cord to tying a knot that holds, and shows you how to check the fit before you finish. Restring before the cord fails, and you will never lose beads to a snap.
Tools and Materials You Need
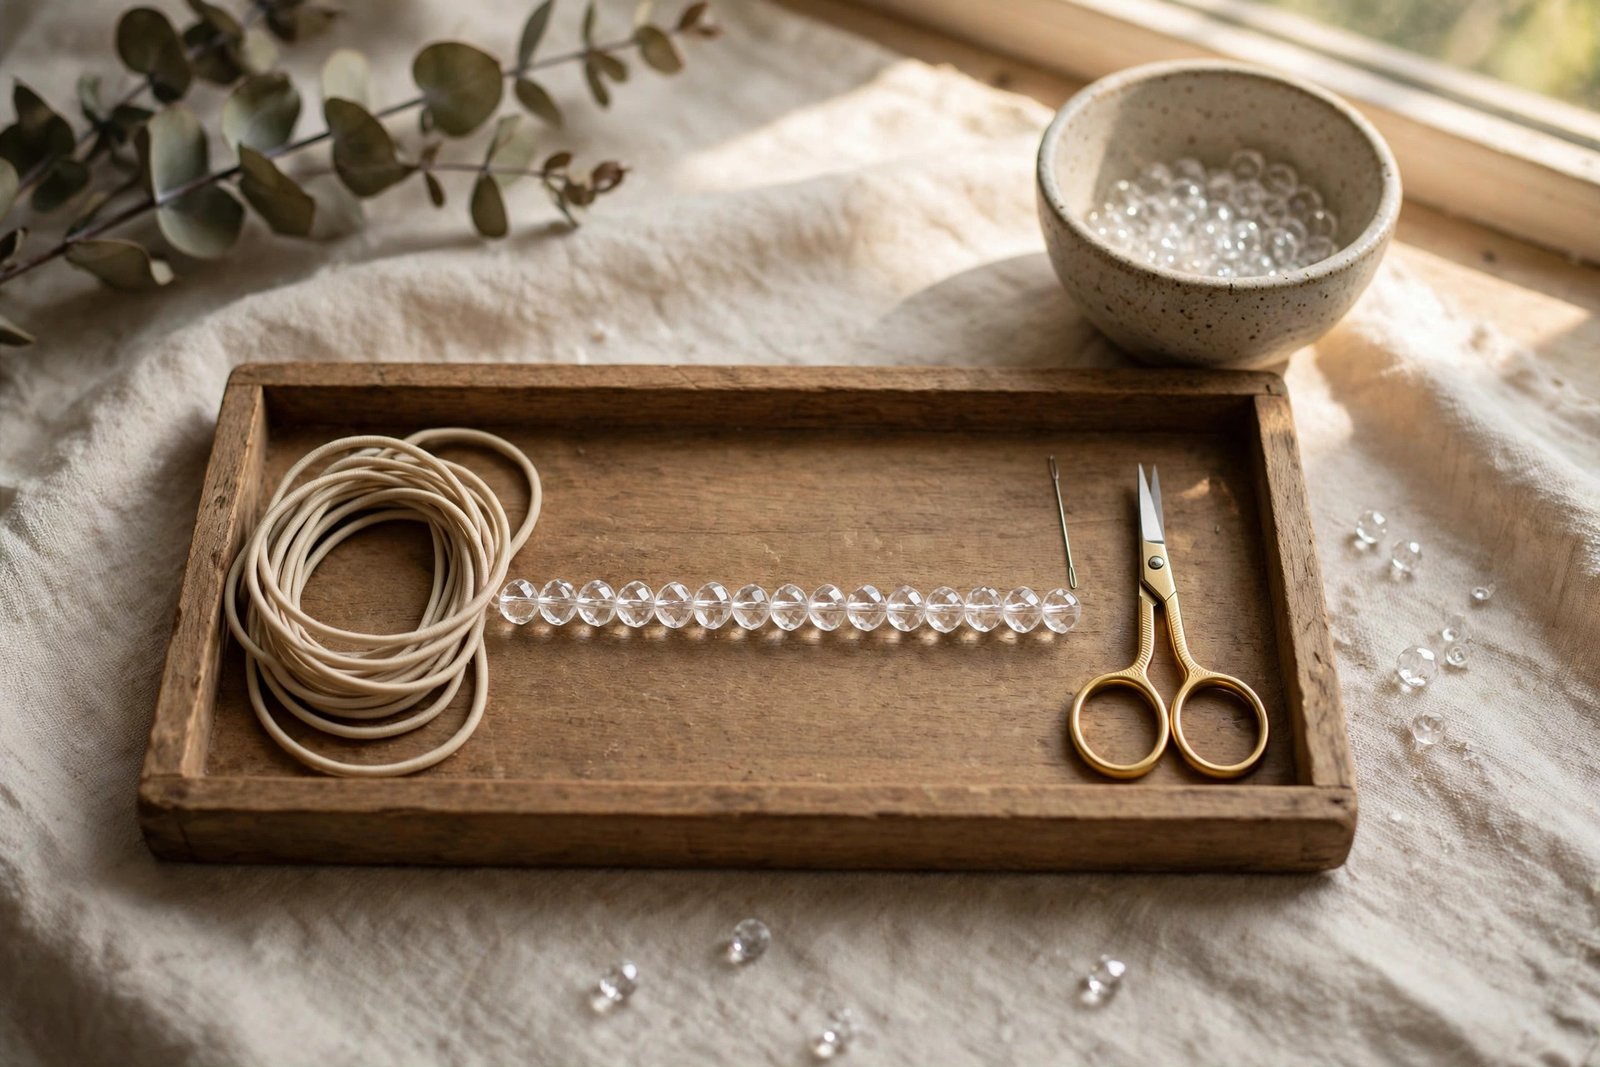
You need elastic beading cord, sharp small scissors, a beading needle or cord threader, a bead stopper or piece of tape, and a tray or bead board to stop beads rolling away. A drop of jeweller’s glue is optional for securing the finished knot. Most craft suppliers stock everything in one inexpensive kit.
Cord choice matters most. For standard 8mm bracelet beads, 0.7mm to 0.8mm clear or black elastic is the usual choice; use 0.5mm to 0.6mm for 6mm beads with smaller holes, and up to 1.0mm for large 10mm to 12mm beads if the holes allow it. Our full elastic cord bracelet guide compares thicknesses, colours, and brands, and explains why cord that is too thick forces holes and cracks beads.
Measure your beads before ordering. Note the bead count and size, because restringing is also your chance to adjust fit by adding or removing a bead. Our bracelet bead size guide và crystal bracelet sizing guide help you translate wrist measurement into bead count.
Work over a shallow tray or a folded towel on a table. Dropped crystal beads roll fast, chip on hard floors, and disappear under furniture. Good light and a tray prevent most restringing frustration. For background on elastic materials, general craft references such as Wikipedia’s elastic overview explain why these cords fatigue over time.
Step-by-Step: Removing Old Cord and Restringing
First, photograph the bracelet before you cut anything. The photo records bead order, pattern repeats, and where charms or spacers sit, so you can rebuild the design exactly. Note which bead hides the knot.
Second, cut the old cord over your tray and slide the beads off in order onto the tray or a bead board, keeping the sequence intact. Inspect each bead as you go: set aside any with chipped holes, wipe all beads with a soft cloth, and clean cloudy ones following our guide to cleaning cloudy crystals.
Third, cut a fresh length of elastic about three times the bracelet’s circumference, roughly 25 to 30 centimetres for an average wrist. Extra length makes tying far easier, and offcuts cost almost nothing. Fold or thread the cord through your beading needle, add a bead stopper or tape at the far end, and thread the beads in your photographed order.
Fourth, check the fit before knotting. Wrap the unknotted strand around your wrist or a sizing cone; it should sit comfortably with slight tension, not loose loops and not stretched tight. Adjust by one bead at a time if needed, following the fit preferences in our elastic bracelet care guide.
Tying a Knot That Actually Holds
The surgeon’s knot is the standard for elastic bracelets. Cross the ends and pass one end through the loop twice instead of once, pull snug, then repeat with a second knot in the opposite direction. Stretch the bracelet gently several times while tightening, so the knot seats under tension rather than slipping later. Our dedicated crystal bracelet knot guide shows knot variations with close-up detail.
Add a tiny drop of flexible jeweller’s glue to the knot if you wish, let it dry fully, then trim the ends to about 2 millimetres. Do not trim flush, because a short tail can slip back through. Finally, stretch the bracelet and work the knot inside the nearest bead hole by rolling the beads along the cord. A hidden knot looks clean and is protected from rubbing.
Test the finished bracelet properly: stretch it to about one and a half times its resting size several times, roll it on and off your wrist over your hand, and wear it around the house for an hour before trusting it outside. If a recently stretched bracelet needs a simpler fix first, see how to fix a stretched crystal bracelet.
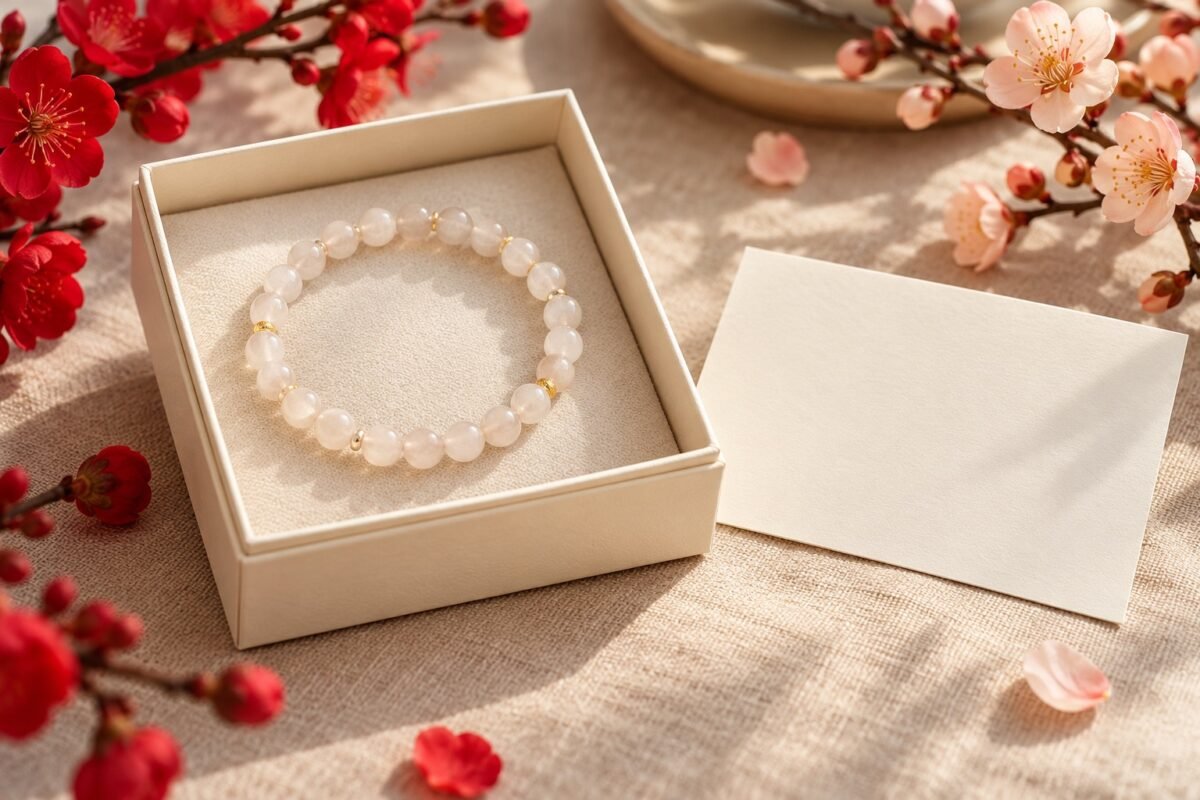
An AVENSU bracelet that has been restrung well should feel exactly as it did when new. If you would rather start fresh, browse replacement pieces in the Cửa hàng AVENSU, including the durable everyday vòng tay thạch anh trong suốt.
When to Restring, Repair, or Replace
Restring as soon as you see fraying, white stress lines in clear cord, a knot that keeps rotating into view, or a fit that has grown noticeably looser. Those are warnings, not emergencies, but they always end in a break if ignored. Many owners restring a daily-wear bracelet every 12 to 18 months as routine maintenance.
Replace individual beads when holes are chipped or cracks run through the stone, because a damaged bead can cut new cord from the inside. Replacement beads should match size and hole diameter, not just colour. Keep the beads you remove when resizing; they are your matching spares for future repairs.
Send a bracelet to a jeweller instead when it uses wire, chain, a clasp, or knotted silk rather than elastic, or when valuable metal components need soldering. Elastic restringing is a home job; structural metalwork is not. Knowing the difference protects both the bracelet and your wallet.
Các câu hỏi thường gặp
What size elastic cord should I use for 8mm beads?
Use 0.7mm to 0.8mm elastic for most 8mm crystal beads. If the cord will not pass through a bead twice for knotting, drop to 0.6mm. Always test one bead first before threading the whole bracelet.
How do I stop the knot from showing?
Tie the knot beside a bead with a slightly larger hole, add a tiny drop of glue, let it dry, then stretch the bracelet and roll the beads so the knot slides inside that bead. Keeping 2mm tails prevents the knot slipping out again.
Can I add or remove beads while restringing?
Yes, restringing is the best time to adjust fit. One 8mm bead changes the circumference by roughly 8mm. Check the strand on your wrist before knotting, and keep removed beads as matching spares.
How long does restringing take?
About 15 to 25 minutes for a standard single-strand elastic bracelet, including inspection and cleaning. Your first attempt may take a little longer. Work over a tray, follow your photo of the bead order, and do not rush the knot.












 English
 Vietnamese