Dull beads rarely need aggressive polishing — they need cleaning, gentle buffing, and better storage so the shine lasts. True polishing removes material, which is why the home methods below focus on restoring gloss safely rather than re-cutting the stone.
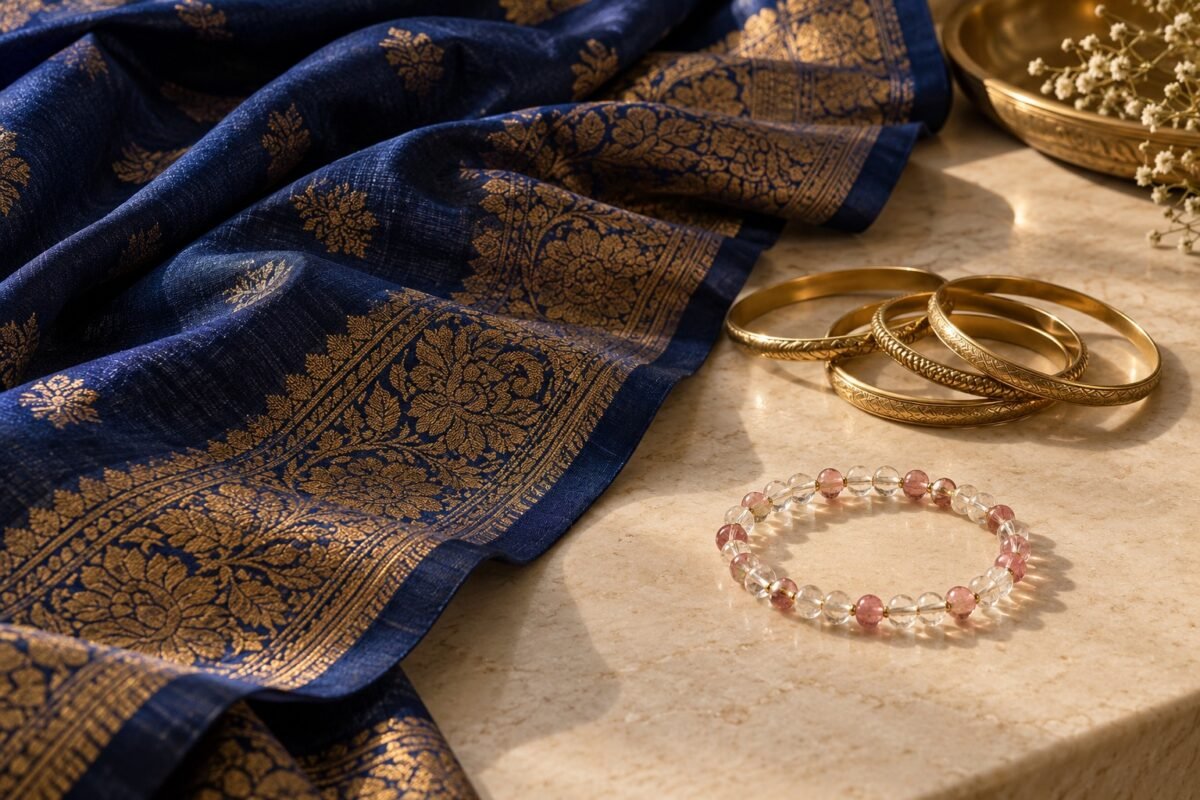
Work through the steps in order: clean first, buff second, and only consider stronger measures for hard stones you own outright. With the right approach, an AVENSU clear quartz bracelet that has gone hazy from daily wear can look bright again in fifteen minutes.
Understand What “Polish” Means for Beads
A bead’s shine comes from a microscopically smooth surface that reflects light evenly. Two things destroy it: deposits sitting on top (oils, soap, sunscreen) and damage to the surface itself (fine scratches and abrasion). Deposits wash off; scratches can only be softened, not erased, without lapidary equipment.
That distinction decides your method. If a bead looks brighter while wet, deposits or very fine texture are the problem and home buffing will help a lot. If deep scratches catch your fingernail, home methods will improve the look modestly at best — which connects to our guide on how to clean cloudy crystals, where we separate cleanable film from permanent change.
Hardness also matters. Quartz-family stones at Mohs 7 tolerate more handling than fluorite at 4 or selenite at 2; the Mohs scale overview is a handy reference before you start rubbing anything on a stone.
Step One: Clean Before You Polish
Never buff a dirty bead — you will grind grit into the surface. Wash hard stones in lukewarm water with a drop of mild soap, rinse, and dry completely, following the water-safety rules in can crystal bracelets get wet?. Wipe soft or porous stones with a barely damp cloth and dry them at once.
For beads still on the strand, work one bead at a time with the bracelet resting on a towel, so the elastic is never pulled or soaked unnecessarily. Our crystal finish care guide explains how matte, glossy, and frosted finishes each need slightly different handling — a matte bead should never be buffed to a gloss.
Step Two: Buffing Methods That Are Safe at Home
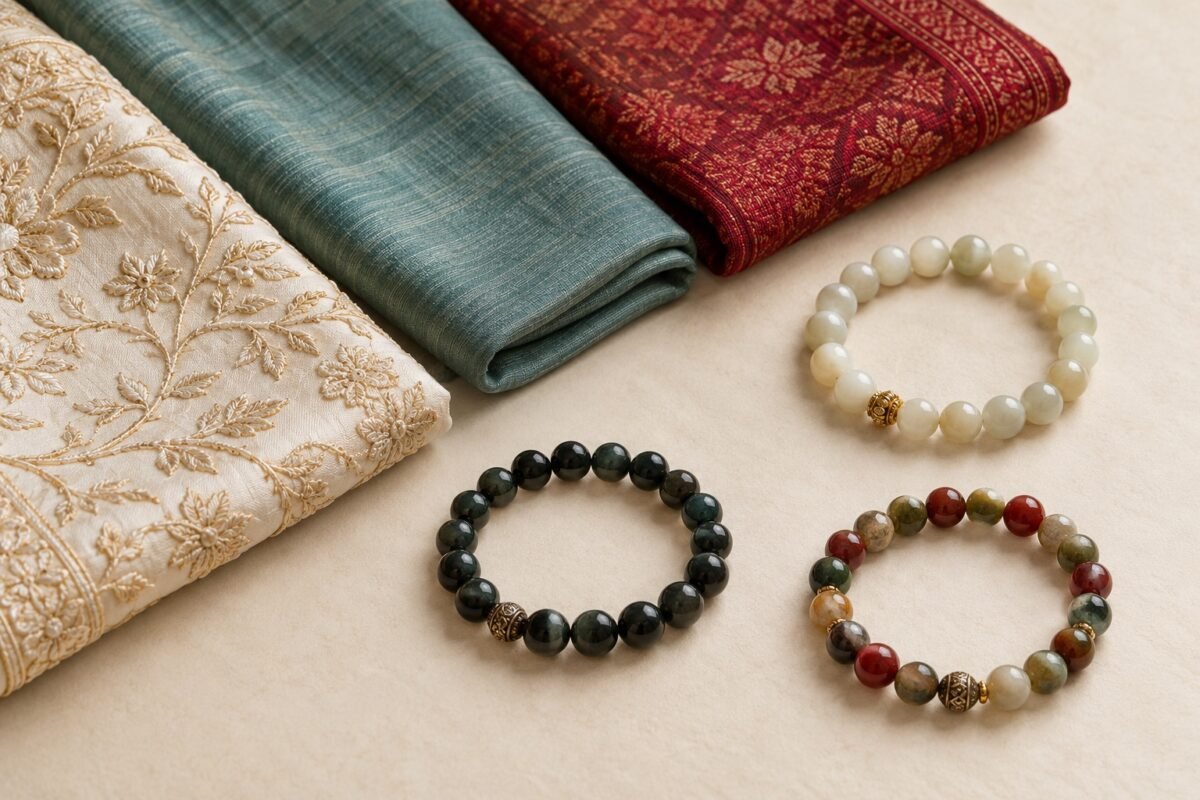
The workhorse method is simple: a clean microfibre or jeweller’s polishing cloth, used dry, with small circular motions and light pressure for 20–30 seconds per bead. This removes the last film and restores the factory gloss on quartz, agate, jasper, and obsidian beads, including an AVENSU obsidian bracelet whose black beads show every fingerprint.
A drop of plain water on the cloth helps with stubborn film on hard stones. Some makers use a tiny amount of mineral oil on a cloth to deepen the look of matte or porous beads like lava or unfinished turquoise, but oil darkens some stones and attracts dust — test one bead, and skip oil entirely on bracelets you may resell.
Avoid rotary tools, nail buffers, toothpaste, and baking soda pastes. All are abrasives that can flatten bead facets, enlarge drill holes, and turn a small dull patch into a uniformly scratched bead. Professional repolishing uses graded diamond compounds described in lapidary references such as those summarised by Geology.com — useful context for why grit sequence matters, and why it belongs on loose, inexpensive stones only.
Caring for Special Finishes and Accents
Gold- or silver-plated spacer beads polish differently from stone: use a cloth made for that metal, keep metal polish off the stones, and follow our guide to cleaning metal accents. Aura-coated and titanium-coated quartz should never be buffed hard — the colour is a surface layer that can rub thin.
Wood and seed beads paired with crystals need dry care only; see our wood bead bracelet care guide before applying any moisture or oil near them.
If a favourite AVENSU bracelet has one badly scratched bead, replacing that single bead during a restring often beats polishing the whole strand. Spare-bead options and new pieces are in the AVENSU shop, and our refresh an old crystal bracelet guide covers bead swaps and redesigns.
Keep the Shine: Storage and Habits
Polish is wasted if beads go straight back into a jumbled box. Store bracelets separately in soft pouches, grouped by hardness with our guide to storing crystals by hardness, so a quartz bead never grinds against a fluorite neighbour.
Put jewellery on after perfume and sunscreen have dried — the chemistry behind that advice is in what damages crystal jewelry — and wipe beads with a dry cloth after wearing. Those two habits do more for long-term shine than any polishing session.
Frequently Asked Questions
Can I use a rock tumbler to polish bracelet beads?
Not while they are strung, and generally not at all for finished beads: tumbling changes bead size and shape, can crack drilled beads, and destroys coated finishes. Tumblers are for rough stone, not completed jewellery.
Does toothpaste polish crystals?
Toothpaste is a mild abrasive and a bad idea on beads. It can scratch softer stones, leave residue in drill holes, and dull polished quartz over time. A microfibre cloth achieves the visible improvement without the abrasion.
How often should I buff my bracelet?
A quick dry-cloth wipe after wearing, and a fuller clean-and-buff about once a month for daily-wear pieces. More frequent aggressive handling wears elastic and coatings faster than it helps the stones.
Why do my beads dull again so quickly?
Usually storage abrasion or product film. Separate pouches, applying perfume before jewellery, and wiping after wear solve most repeat dullness. If one bead dulls while neighbours stay bright, it may be a softer imitation stone mixed into the strand.









 English
 Vietnamese