A crystal bracelet is only as reliable as its knot. Tie it badly and the elastic slips, beads scatter across the floor, and a favourite piece is suddenly a repair job. Tie it well — with the right knot, the right tension, and the knot hidden inside a bead — and the bracelet looks seamless and survives daily wear for months.
This guide explains the knot jewellers and experienced beaders reach for, the surgeon’s knot, and walks through tying and hiding it step by step. It works for a repair on an existing bracelet or for finishing a restring, and it applies to an AVENSU bracelet just as it does to a handmade piece.
What You Need Before You Start
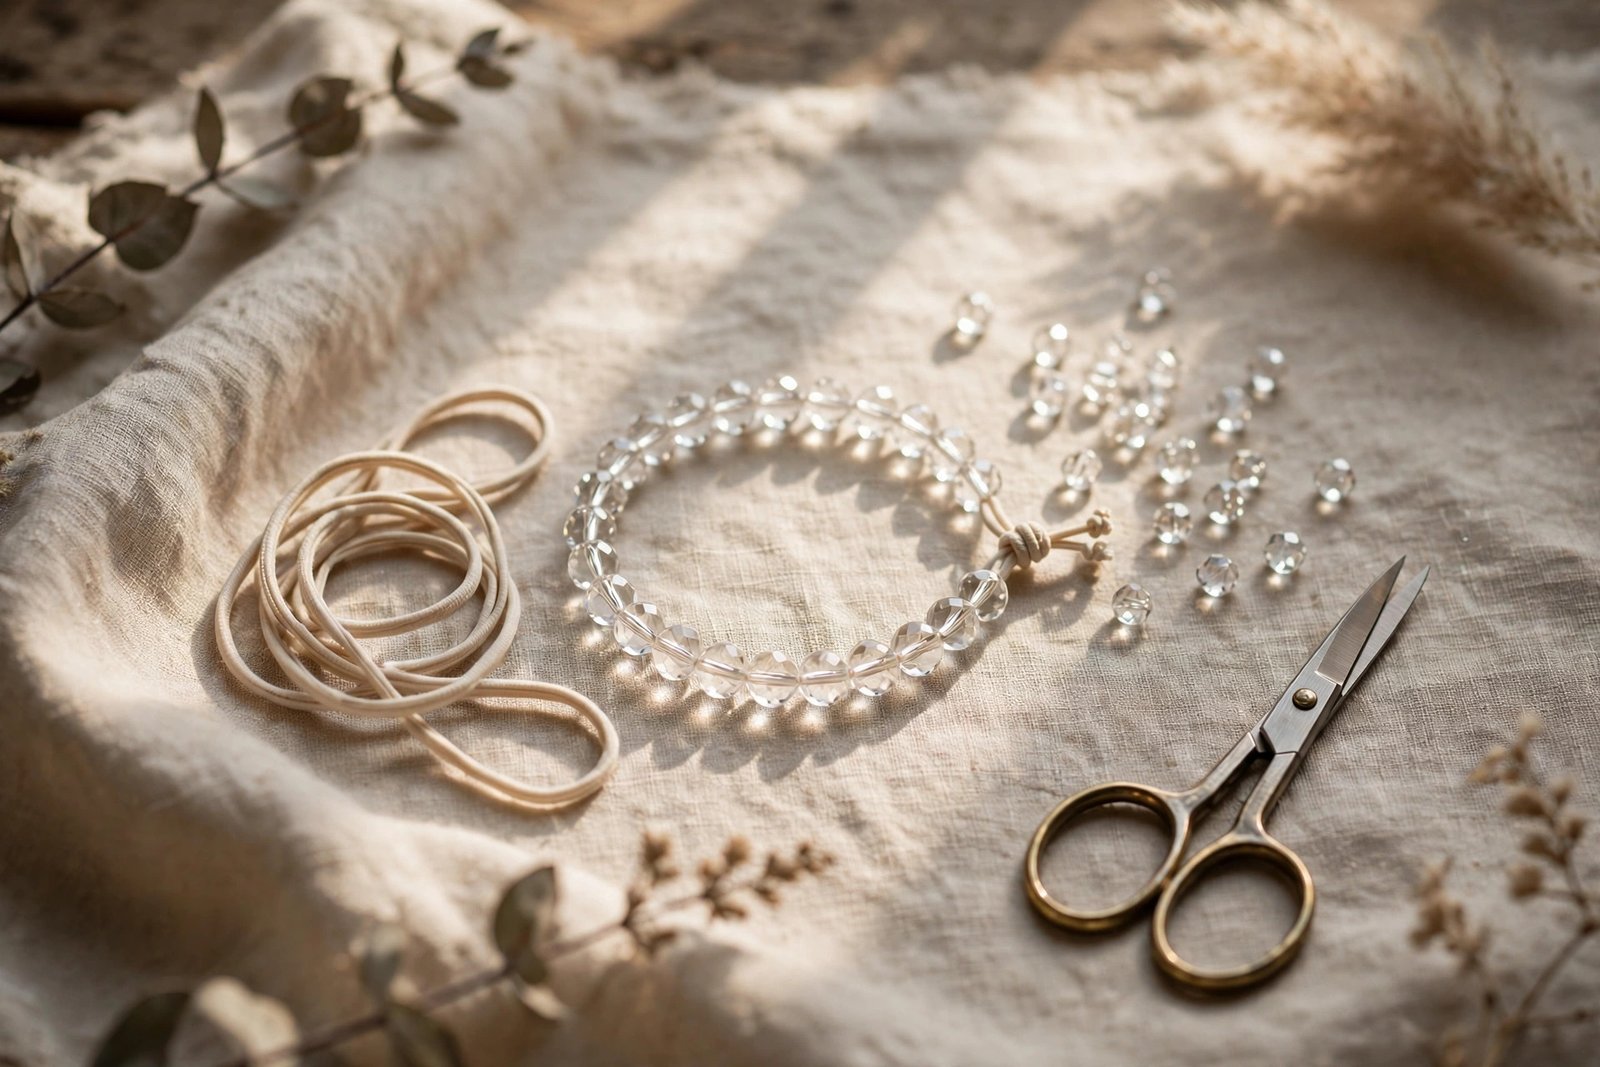
Gather your strung beads, small sharp scissors, and optionally a drop of jeweller’s glue, plus a bead with a slightly larger hole — the knot bead — if your design has one. Work over a tray so loose beads cannot roll away, in good light.
Check the elastic first. If the cord is frayed, cloudy, or has lost its snap, replace it rather than retying it; a fresh knot in tired elastic will not last. Our elastic cord bracelet guide explains cord types and thicknesses, and the full restringing process is covered in how to restring a crystal bracelet.
Leave at least 10 centimetres of tail on each side of the beads before you knot. Short tails are the main reason knots get fumbled, pulled unevenly, or tied with the beads under the wrong tension.
Tying the Surgeon’s Knot, Step by Step
First, cross the two elastic ends over each other and pull them through once, as if starting to tie shoelaces, then pass one end through the loop a second time. That extra pass is what makes it a surgeon’s knot, and it grips elastic far better than a single overhand knot. Pull this first stage snug against the beads, but not so tight that the beads bunch and the bracelet loses its round shape.
Second, tie a standard overhand knot on top: cross the ends and pull through once. Before you fully tighten it, check the bracelet’s fit on your wrist.
Third, tighten in stages. Pull both tails evenly and firmly — elastic needs a confident pull to seat the knot. Then give each tail a separate small tug to lock it. The finished knot should feel like a hard little bead itself, with no visible looseness when you stretch the bracelet gently.
If you are following a sizing pattern, our crystal bracelet size guide helps you confirm the bead count before the knot is permanent.
How to Hide the Knot Inside a Bead
A hidden knot looks professional and, just as importantly, protects the knot from friction against your skin and clothing. To hide it, plan ahead: finish stringing so the last bead on one side has a hole large enough to swallow the knot. Many crystal beads have slightly irregular holes, so test by sliding a practice knot — tied in a scrap of the same elastic — towards each candidate bead until you find one that fits.
Once the real knot is tied and tight, dab the tiniest drop of glue on it if you choose to use glue, wait until it is tacky rather than wet, then gently stretch the elastic and coax the knot into that bead. Roll the bead between your fingers to settle it. Trim the tails close to the knot only after it is hidden, leaving about 2 millimetres; cutting flush before hiding risks the ends slipping back through.
If no bead will take the knot, hide it under a crimp cover or between two smaller spacer beads instead. On an AVENSU rose quartz love bracelet, for example, a small metal accent bead can serve the same purpose while looking intentional.
Keeping the Knot Strong
Glue is optional insurance, not a substitute for a good knot. If you use it, choose a flexible jeweller’s adhesive and use less than you think: excess glue stiffens the elastic and can discolour pale stones such as moonstone or rose quartz. The British Geological Survey’s gemstone resources and general care guidance from the Viện Đá quý Hoa Kỳ both stress keeping chemicals away from porous gems.
Let a glued knot cure for a full 24 hours before wearing the bracelet. Afterwards, protect your work: roll the bracelet on and off over your hand instead of stretching it wide, keep it away from perfumes and hot water, and follow the habits in our Hướng dẫn chăm sóc vòng tay pha lê co giãn.
Inspect the knot area monthly. If the visible elastic near the knot looks thin, white, or fuzzy, restring before it fails — ideally using the steps in our guide to fixing a stretched-out bracelet.
Troubleshooting Slipping or Visible Knots
If a knot slips, the usual causes are tails cut too short, a single overhand knot instead of a surgeon’s knot, or tightening only one side. Untie or cut it out and start again with fresh elastic if the cord has been stressed.
If the knot keeps showing, the hiding bead’s hole is probably too small, or the knot is too bulky because of extra wraps. Reduce to the standard surgeon’s knot plus one overhand, and switch the hiding bead rather than forcing it — forcing a knot into a tight bead can crack the bead, especially on softer stones.
If the bracelet feels too tight after knotting, you pulled the first stage too hard. Elastic should sit with the beads touching but able to roll slightly. Restring with one extra bead rather than tying a looser knot, which will simply slip.
Done patiently, the whole job takes ten minutes, and a well-hidden knot is why an AVENSU moonstone bracelet can be worn daily without a visible join. Browse the Cửa hàng AVENSU if a broken bracelet turns out to be beyond repair and you would rather replace it.
Các câu hỏi thường gặp
What is the best knot for a crystal bracelet?
The surgeon’s knot, finished with one overhand knot, is the most reliable choice for elastic cord. The double pass in the first stage grips slippery elastic, and the second knot locks it in place.
Should I glue my bracelet knot?
Glue is optional. A tiny drop of flexible jeweller’s adhesive adds security, but a correctly tied and tightened surgeon’s knot holds well on its own. Never flood the knot, and keep glue away from porous or pale stones.
How long should I leave the elastic tails?
Leave at least 10 centimetres on each side for tying. After the knot is hidden inside a bead, trim the tails to about 2 millimetres so the ends cannot work loose.
Why does my knot keep coming undone?
Usually the knot was a single overhand, the tails were too short, or only one side was tightened. Retie using a surgeon’s knot, pull both tails evenly, then tug each tail separately to lock it.











 English
 Vietnamese